


Broilmaster
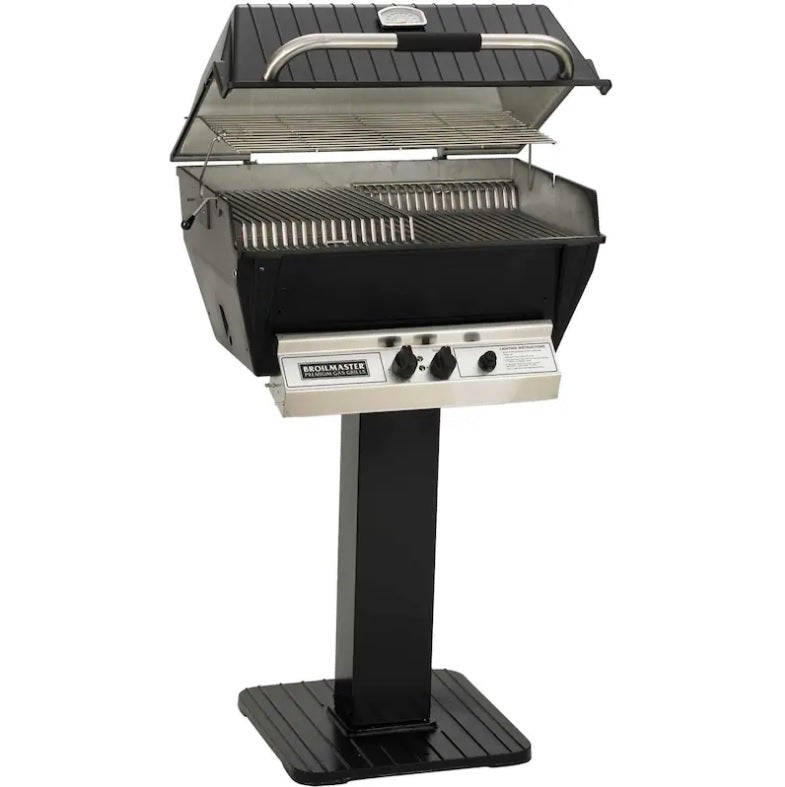
Broilmaster P3-XF Premium Gas Grill On Black Patio Post - P3-XF + BL26-P
Broilmaster P3-XF Premium Gas Grill On Black Patio Post - P3-XF + BL26-P
Couldn't load pickup availability
Order before noon Pacific Time for same-day shipping.*
Estimated delivery within the contiguous US: 2–3 business days after shipping.
*Monday–Friday, excluding holidays.
Shipping details
Orders placed before 12:00 p.m. Pacific Time Monday–Friday ship the same day, excluding holidays. Orders placed after the cutoff, on weekends, or on holidays ship the next business day.
Delivery within the contiguous US typically takes 2–3 business days after shipping. Saturdays, Sundays, and holidays do not count toward this estimate.
Orders with a subtotal over $199.99 before tax qualify for free base shipping to US destinations. Orders with a subtotal of $199.99 or less before tax have a $29.99 base shipping charge per order.
Additional shipping charges may apply to Alaska, Hawaii, and US territories. We will notify you of any additional charge on a case-by-case basis before shipping. See our shipping policy for details and delivery estimates for these destinations.
Ask an Expert
Buy with confidence. Talk to a grill expert today.
- Call 844-MNK-GRILLS (844) 655-4745
- Text (949) 484-9112
- Live chat
Hours
Sales & Support Hours (Pacific)
- Sales
- Mon–Fri 7am–9pm · Sat 8:30am–5pm · Sun 9:30am–6pm
- Support
- Mon–Fri 8am–5pm · Sat 8:30am–5pm · Sun 9:30am–6pm
Description
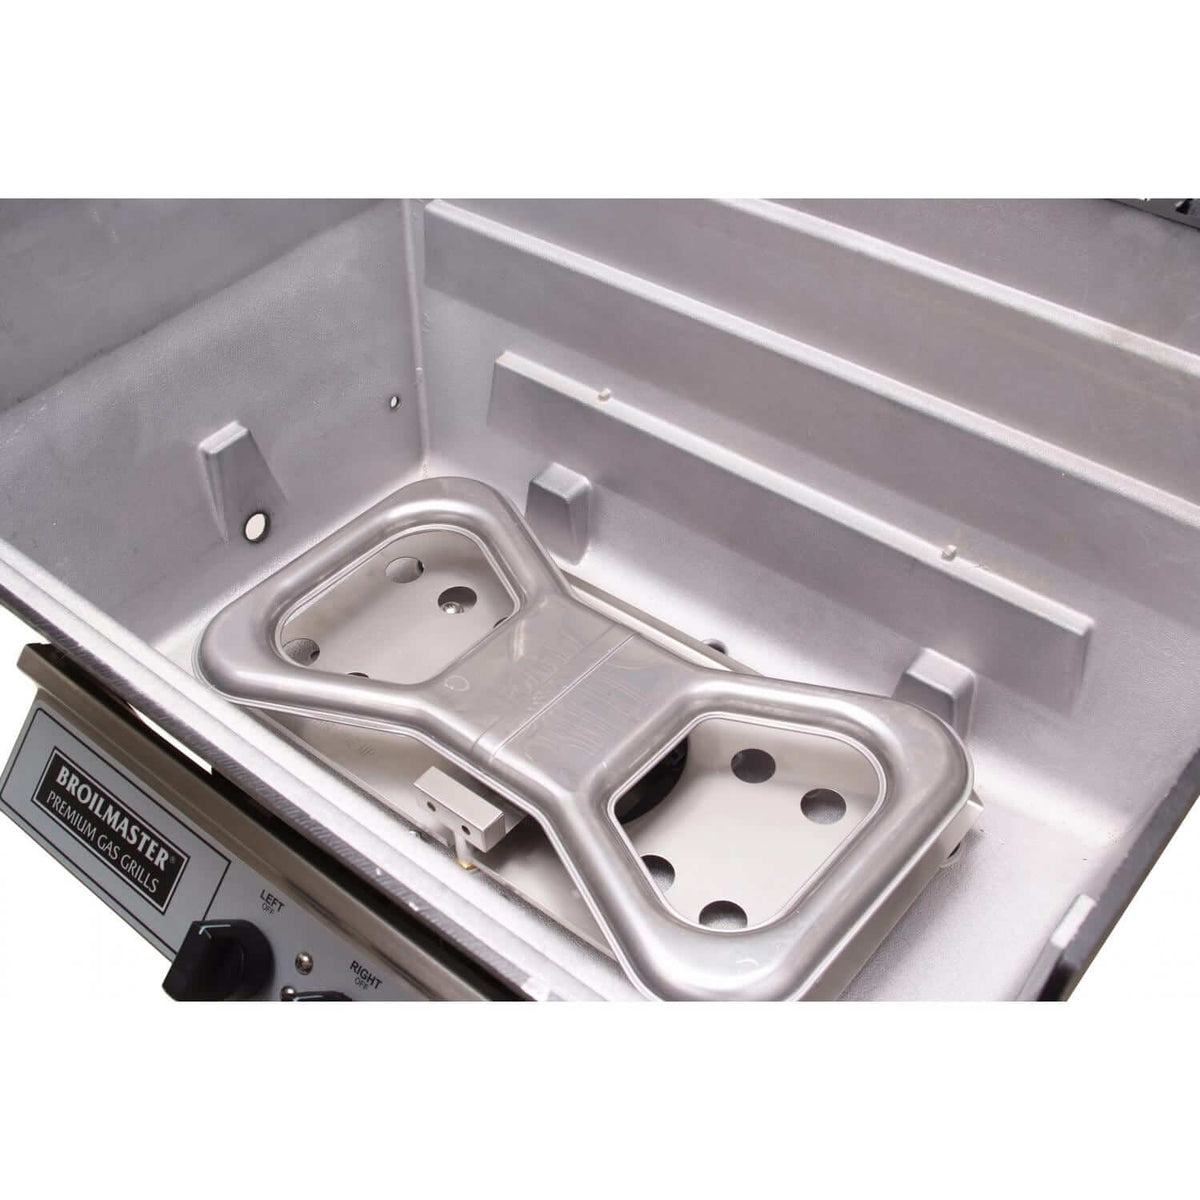
This package mounts the Broilmaster Premium P3XF gas grill head on the BL26P black painted steel patio post, a freestanding pedestal grill that bolts down to a flat patio and runs from a fixed gas line. The P3XF is a heavy-duty cast aluminum head with one stainless steel Bow Tie burner rated at up to 40,000 BTU, run from separate left and right controls, and 695 sq. in. of total cooking area. Flare Buster ceramic flavor enhancers and multi-level stainless steel cooking grids come standard.
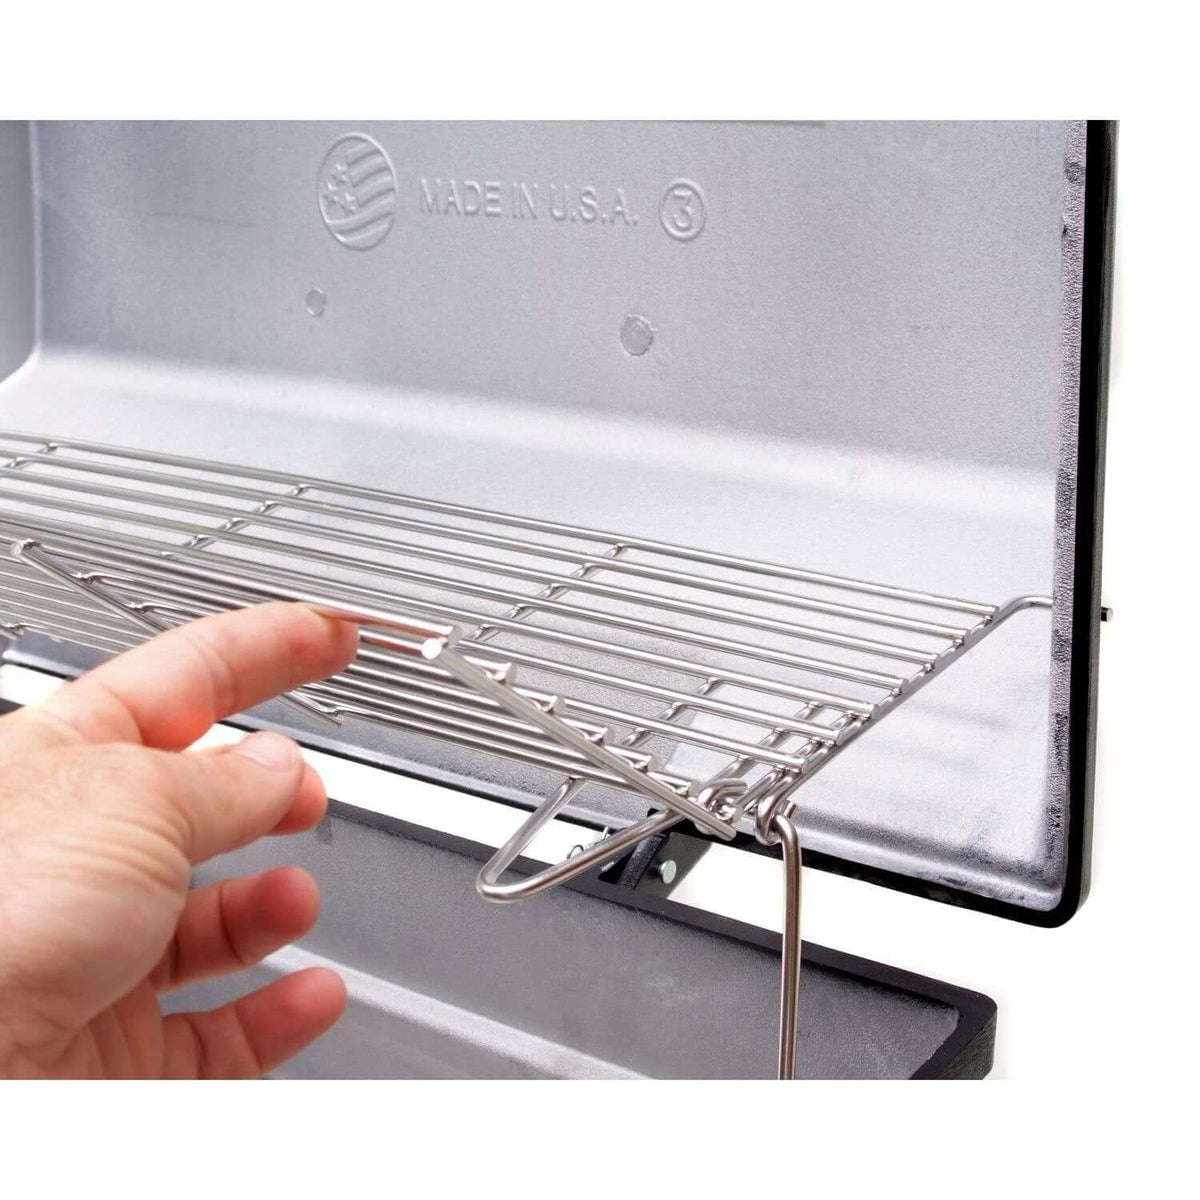
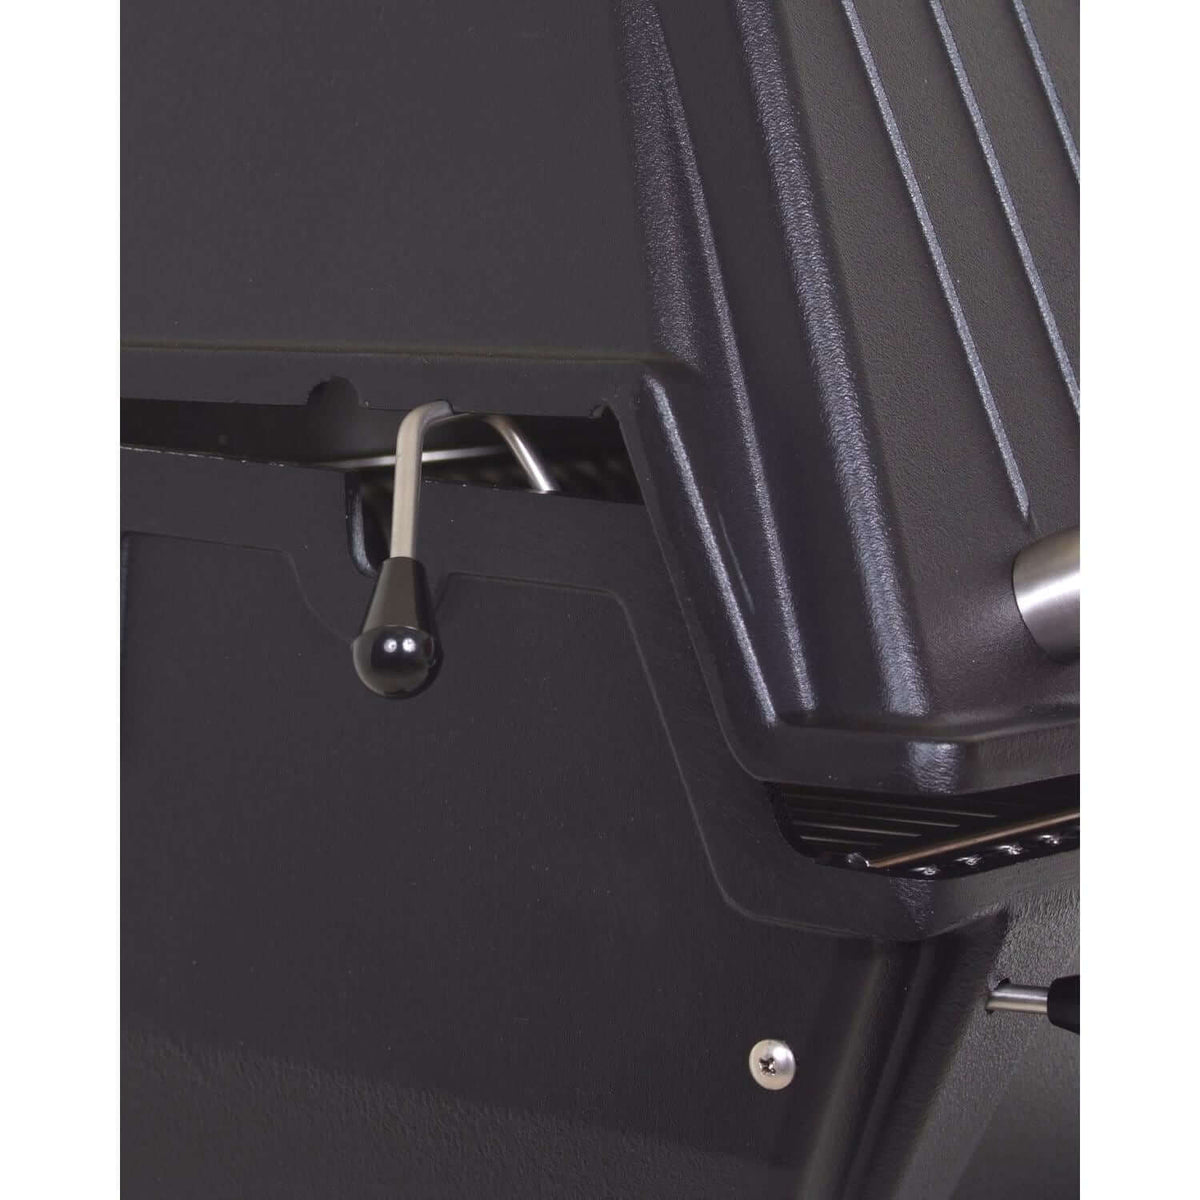
The two-piece stainless steel rod grids (5/16" bars) set at three levels for searing, baking or warming, and the folding Retract-A-Rack adds a warming level that folds away for large roasts. A push-button electronic ignitor (one AA battery) lights the burner, and a heat indicator in the lid shows the temperature. Unlike the fully equipped P3SX, the P3XF does not include the stainless smoker shutter or the griddle; both fit the P3XF and are sold separately. Choose natural gas (P3XFN) or propane (P3XF) on this listing.
Plan ahead: the post sits on a cast base that you anchor to the patio through its two holes (anchors are not included), and it carries a stainless steel flex line inside that a gas company or licensed contractor connects to your supply, with a shut-off valve close to the post. Broilmaster states the patio base is not designed for use with an LP gas cylinder, so plan on a piped gas supply. The same head is also sold on a stainless steel cart, on a black cart, on a stainless steel patio post, on a stainless steel in-ground post, on a black in-ground post, as a built-in with the BHAX2 surround or as a head only.
Features
- Up to 40,000 BTU stainless Bow Tie burner: corner-to-corner heat for searing, with separate left and right controls for two-zone and indirect cooking.
- Flare Buster ceramic flavor enhancers (DPA116): protect the burner from food drippings to reduce flare-ups.
- Three-level stainless rod grids plus Retract-A-Rack: 695 sq. in. of total cooking area you can set for searing, baking or warming.
- Heavy-duty cast aluminum head: limited lifetime warranty against rust-through on the grill housing.
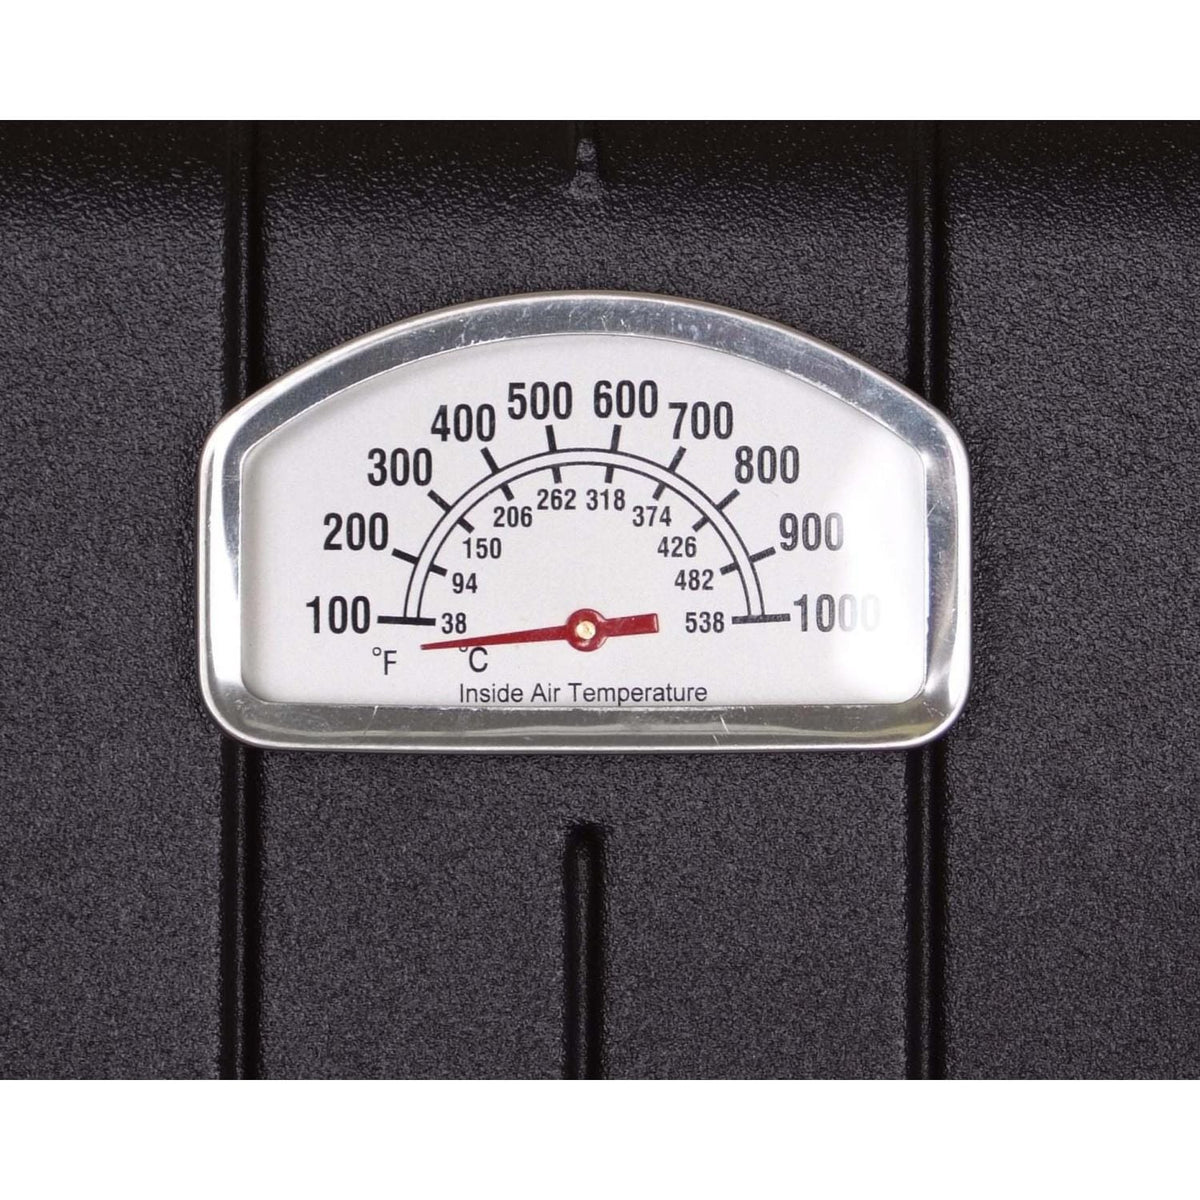
- Heat indicator in the lid: read the cooking temperature without lifting the lid.
- Black painted steel patio post on a cast base: a permanent pedestal mount for a flat patio, with the gas flex line, grease cup and access door built into the post.
Specifications
| Brand | Broilmaster |
|---|---|
| Series | Premium P3, P3XF |
| Package | P3XF grill head + BL26P black painted steel patio post |
| Models | P3XFN + BL26P (natural gas); P3XF + BL26P (propane head) |
| Type | Post-mount (pedestal) gas grill for a flat patio |
| Grill head construction | Heavy-duty cast aluminum; stainless steel control panel |
| Burner | Stainless steel Bow Tie burner (DPP111), up to 40,000 BTU; separate left and right controls |
| Total cooking area | 695 sq. in. |
| Cooking grids | Two-piece stainless steel rod grids (DPA111), 5/16" bars; three cooking levels |
| Standard cooking accessories | Flare Buster ceramic flavor enhancers (DPA116), folding stainless Retract-A-Rack |
| Lid | Heat indicator; lid stop kit (DPA106) |
| Ignition | Push-button electronic ignitor (B072218), one AA battery |
| Gas pressure | Natural gas: 7" water column manifold pressure (no regulator on the grill); propane: hose and regulator (B069756) supplied, regulator outlet not more than 11" water column |
| Mounting | BL26P black painted steel patio post on a cast base (B100065), anchored to the patio (2 anchor holes; anchors not included) |
| Gas connection | Stainless steel flex line (B076519) in the post; 3/8" flare coupling to a fixed supply (not supplied); patio base not designed for an LP gas cylinder |
| Clearance to combustibles | 16" sides, 18" back |
| Electrical | None required (battery ignitor) |
What's included
- P3XF cast aluminum grill head with stainless Bow Tie burner (DPP111)
- Stainless steel rod cooking grids, 2 pieces (DPA111)
- Flare Buster ceramic flavor enhancers (DPA116)
- Briquet rack (B101061) and Retract-A-Rack warming rack (B072695)
- Lid stop kit (DPA106) and electronic ignitor (B072218)
- Propane version: LP hose and regulator (B069756)
- BL26P patio post: black painted steel post (B101644), cast base (B100065), lower bracket (B101764), upper bracket (B101760), flex line (B076519), grease cup (B101473) and holder (B101628), black post access door (B101629) and hardware pack (B102255)
- Owner's manual (B102521) and post instructions (B102250)
Sold separately
- Stainless steel smoker shutter (DPA100): fits the P3XF, for indirect cooking and smoking
- Stainless steel griddle (DPA115): replaces one cooking grid
- Heavy-duty standard rotisserie for P3 Series grills (DPA51)
- Stainless steel diamond cooking grids (DPA118)
- Broilmaster side shelves for posts and carts: SKFPB2 (black solid surface, painted support), SKFB2 (black solid surface, stainless support), SKSS2 (stainless steel); ask us to order
- Replacement parts: rod cooking grids (DPA-111), Flare Busters (DPA116), Bow Tie burner (DPP111)
Installation planning
- Choose a solid, flat patio. Place the grill at least 16" from combustible material at the sides and 18" at the back (fences, patio furniture and house walls count), and never under carports, covered porches, awnings or overhangs. Outdoor use only: never in a building, garage or other enclosed area, a recreational vehicle or a boat, and never where gasoline or other flammable vapors or liquids are stored or used.
- Assembly order (B102250): lower bracket to the post, post to the cast base (four 1/4-20 x 1-1/2" screws with lock washers), feed the flex line up through the post (it can exit the bottom of the base or the square hole in the back of the post), slide in the upper bracket and fix it with its self-drilling screws, snap on the grease cup holder, then set the head and bolt its bottom casting (four 1/4-20 x 3/4" bolts with flat washers), connect the gas, and fit the grease cup and access door. Use the screws in the hardware pack (B102255); the instructions mark the stainless #10 screws for the stainless series. Face the upper rectangular cut-out toward the direction you want the grill to face. Anchor the cast base through its two holes with anchors suited to your patio (not included).
- Gas: the post runs from a fixed gas line, and Broilmaster's post instructions (B101586) state the patio base is not designed for use with an LP gas cylinder. Your gas company or a licensed contractor connects the supply to the stainless steel flex line at the post access door with a 3/8" flare coupling (not supplied), using pipe thread sealant or Teflon tape kept out of the flare seat, and fits a shut-off valve close to the post; close it when the grill is not in use. Do not cut or alter the flex line. Natural gas grills have no pressure regulator, so the supply line must be regulated (after the meter and regulator) and the grill runs at 7" water column manifold pressure. Never use propane in a natural gas grill or natural gas in a propane grill; if you plan to run on propane, talk to us before ordering so we can confirm the piped supply.
- Tools: 3/8", 7/16" and 5/16" wrenches or sockets, pipe thread sealer or Teflon tape, and soapy water. Parts can have sharp edges, so wear leather work gloves. Pressure testing the supply: disconnect the grill and its shut-off valve for tests above 1/2 PSIG; close the shut-off valve to isolate the grill for tests at or below 1/2 PSIG. Leak-test every connection with soapy water, never a flame.
- First use: run on HI for 10 minutes with the lid open, then 10 minutes with the lid closed, to burn off manufacturing oils. To light: open the lid, turn the knob to HI and hold the ignitor button until the burner lights (about 5 seconds); if it does not light, turn it off and wait 5 minutes before trying again. Preheat on HI for 5 minutes with the lid closed.
Care: After cooking, run on HI with the lid closed for about 10 minutes (never more than 30) to burn off residue, then let it cool and wipe with a damp cloth. Brush the grids, empty the grease cup regularly, keep the air holes in the bottom clear and clean the heat indicator probe once a season. Inspect and clean the burner venturi tubes at least twice a year, and more often when spiders are active. Clean the painted post with hot water and mild detergent; avoid harsh or abrasive cleaners. Touch-up paint is available through Broilmaster dealers. Use only the supplied grease cup or a noncombustible container such as an aluminum or tin can. Inspect the mounting components at least twice a year and replace worn parts.
Warranty
Broilmaster limited warranty for Premium grills: limited lifetime against rust-through on the cast aluminum grill housing (paint excluded), the stainless steel cooking grids, and select stainless steel components, including the Bow Tie burner, carts and mountings, the warming rack and stainless built-in components; limited 5 years against rust-through on the Flare Buster ceramic flavor enhancers and painted electro-galvanized steel components; limited 2 years on the stainless steel heat shield; limited 1 year on valves, knobs, ignitors, labels, hoses, fittings, grease cups, drip buckets and other parts and accessories, and on the paint of the aluminum grill head.
The warranty covers the original purchaser only and does not transfer. The grill must be installed by a qualified technician and operated and maintained as the manual describes, and warranty repairs must be done by a qualified gas appliance technician. Using lighter fluid voids the warranty. Keep your receipt: warranty parts require proof of purchase, and the dealer needs your name, address, purchase date, serial number and a description of the problem. Full terms are in the owner's manual (B102521).
Manuals and documents
- Premium grill heads owner's manual, P3X / P3SX / P3XF / P4X / P4XF, B102521 (PDF)
- Broilmaster patio base and in-ground post instructions, BL26P / SS26P / BL48G / SS48G, B102250 (PDF)
- Broilmaster carts and posts instructions, earlier edition B101586 (PDF)
- Broilmaster post options page
- Broilmaster 2024 brochure, BRM-00058 (PDF)
- Broilmaster Premium P3XF product page
Legal disclaimers and warnings
Product packaging, owners' manuals, installation instructions, and/or operating instructions may include more information than what is shown on our website. The content on our site is intended to be used for reference purposes only. Please fully read all included manuals and documentation before installing or using this product. WARNING for California residents: fuels used in gas appliances, and the products of combustion of such fuels, contain chemicals known to the State of California to cause cancer, birth defects or other reproductive harm.