


Primo
Primo Steel Cart With Stainless Steel Side Tables For Oval Junior - PG00320
Primo Steel Cart With Stainless Steel Side Tables For Oval Junior - PG00320
Couldn't load pickup availability
Order before noon Pacific Time for same-day shipping.*
Estimated delivery within the contiguous US: 2–3 business days after shipping.
*Monday–Friday, excluding holidays.
Shipping details
Orders placed before 12:00 p.m. Pacific Time Monday–Friday ship the same day, excluding holidays. Orders placed after the cutoff, on weekends, or on holidays ship the next business day.
Delivery within the contiguous US typically takes 2–3 business days after shipping. Saturdays, Sundays, and holidays do not count toward this estimate.
Orders with a subtotal over $199.99 before tax qualify for free base shipping to US destinations. Orders with a subtotal of $199.99 or less before tax have a $29.99 base shipping charge per order.
Additional shipping charges may apply to Alaska, Hawaii, and US territories. We will notify you of any additional charge on a case-by-case basis before shipping. See our shipping policy for details and delivery estimates for these destinations.
Ask an Expert
Buy with confidence. Talk to a grill expert today.
- Call 844-MNK-GRILLS (844) 655-4745
- Text (949) 484-9112
- Live chat
Hours
Sales & Support Hours (Pacific)
- Sales
- Mon–Fri 7am–9pm · Sat 8:30am–5pm · Sun 9:30am–6pm
- Support
- Mon–Fri 8am–5pm · Sat 8:30am–5pm · Sun 9:30am–6pm
Description
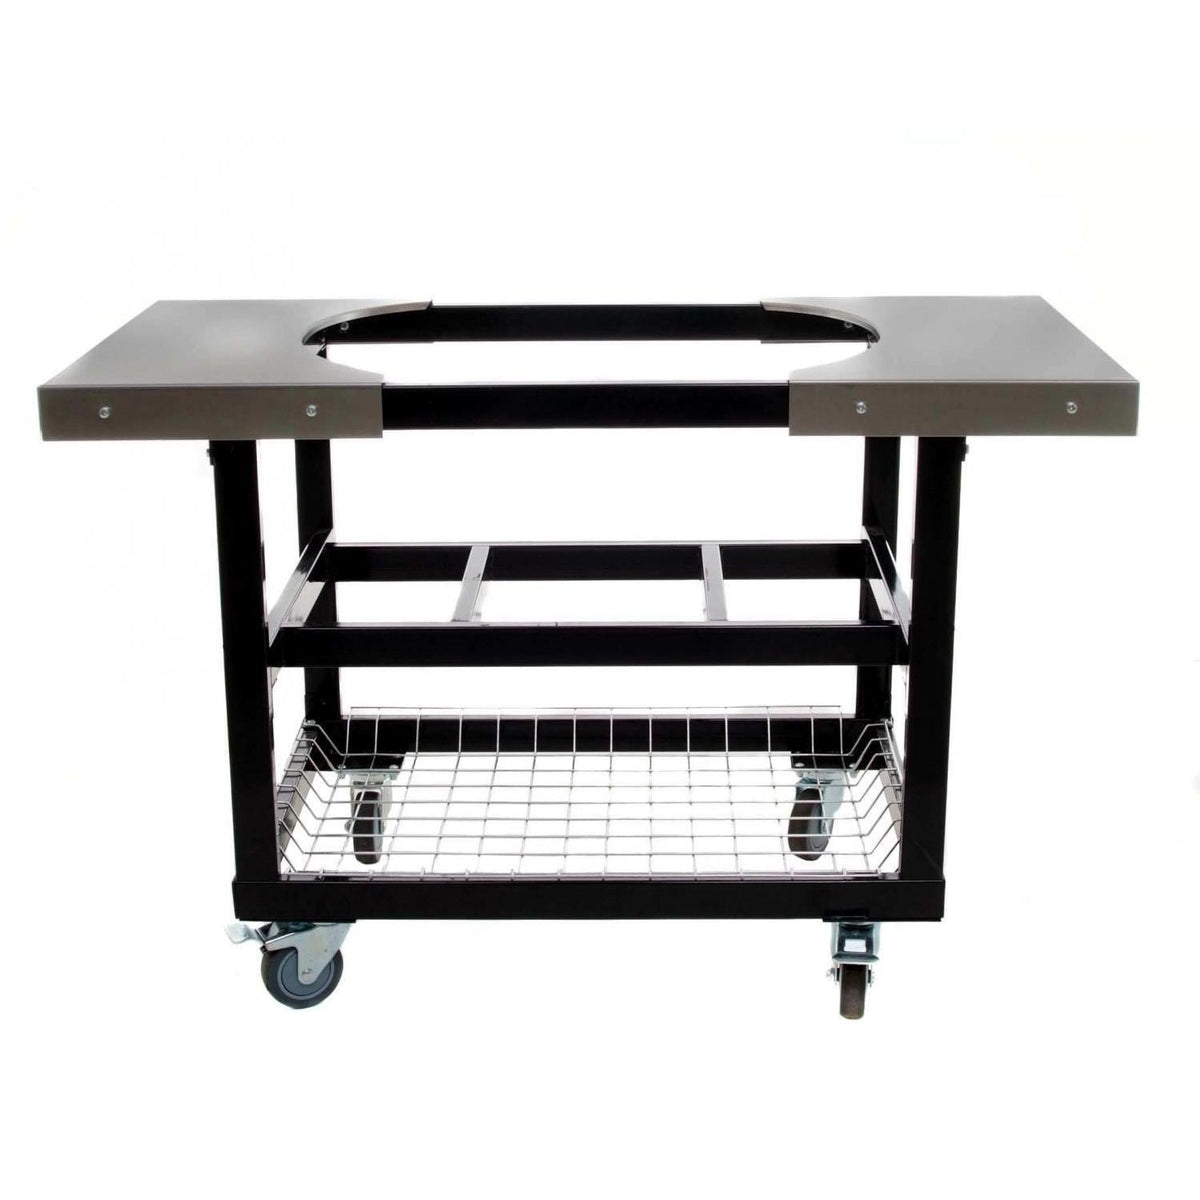
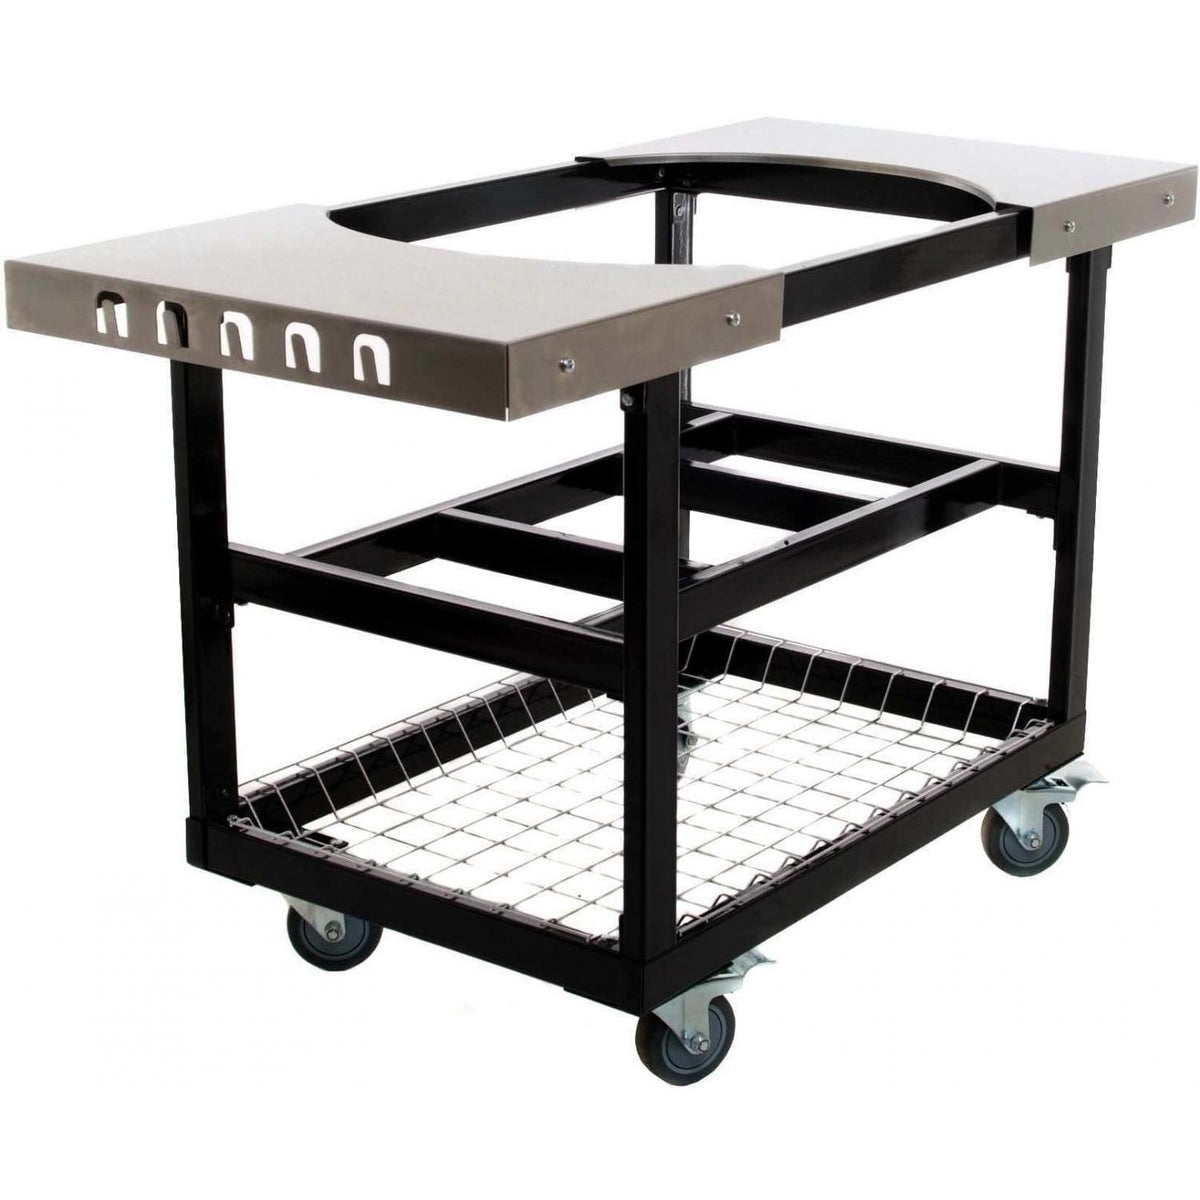
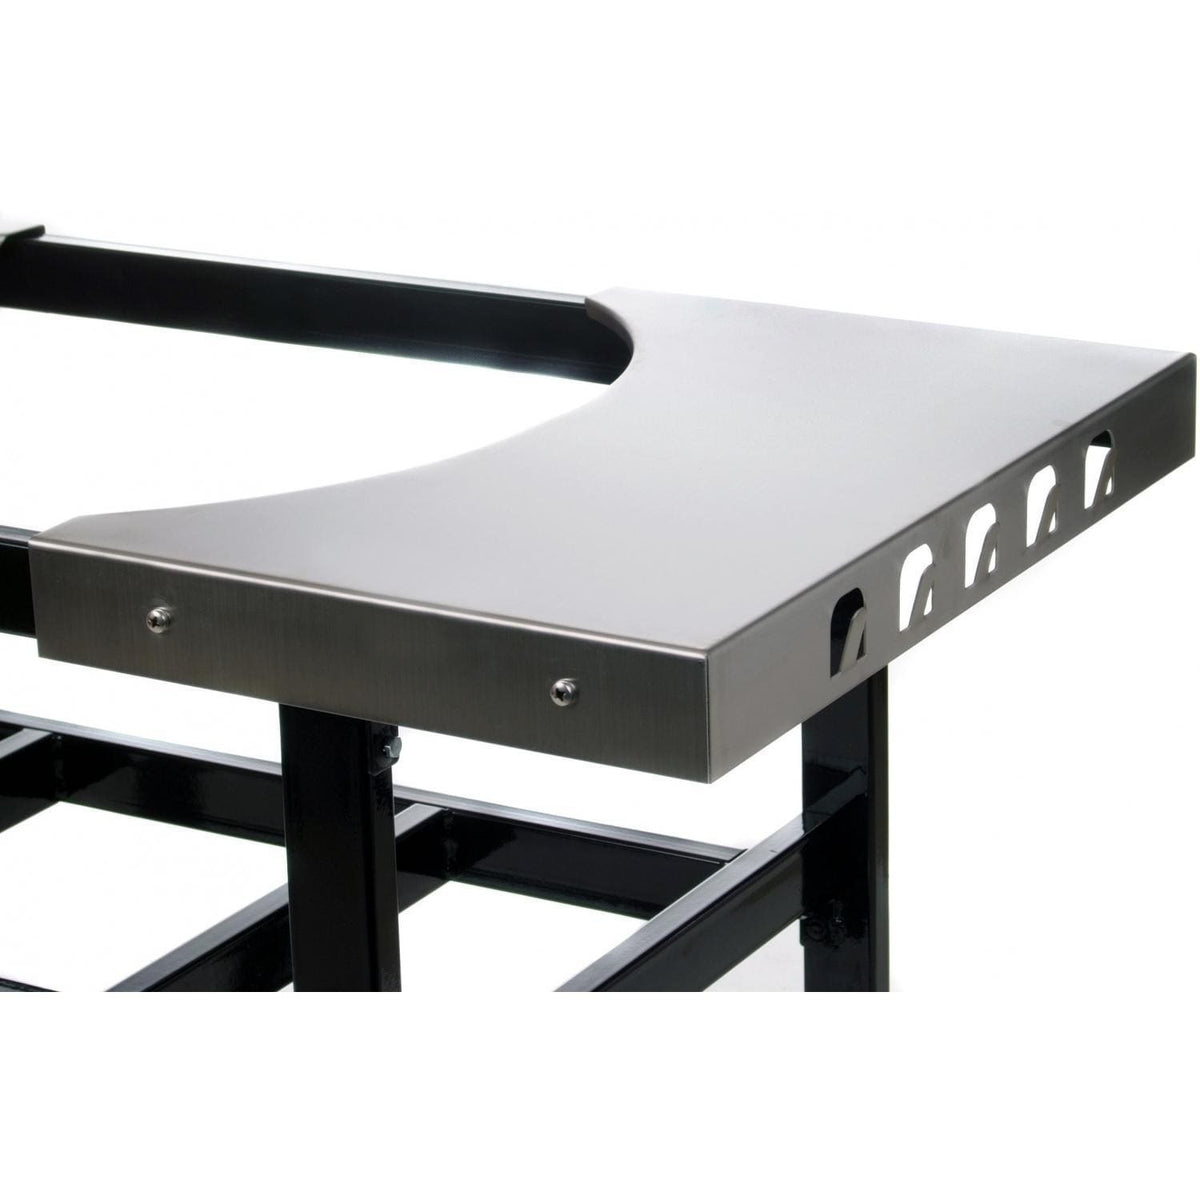
The Primo Cart Base with Basket and Stainless Side Shelves for Oval Junior 200 (PG00320) is the stand Primo calls its most popular cart: a metal cart that holds the grill head at working height, with a wire basket below for storage and two stainless steel side shelves for prep space. Two locking casters at the front hold the grill in place while you cook, and the cart rolls when you need to move it.
This cart is the Junior size, made for the Oval Junior 200 PGCJRH (100 lb, 210 sq in main grate). It is Primo's Junior cart base PG00318 with the stainless side shelves added. For a wood stand, see the Junior countertop table PG00614; to take the Junior on the road, see the Primo GO carrier. You can also browse our Primo and kamado grills collections.
Plan ahead: the grill head is not included. The cart and shelves bolt together by hand with an adjustable wrench (or 10 mm and 11 mm wrenches) and a large Phillips screwdriver; Primo says not to use power drivers or impact wrenches. Primo does not publish the cart's overall size or weight; ask us for them before you plan your patio space.
Features
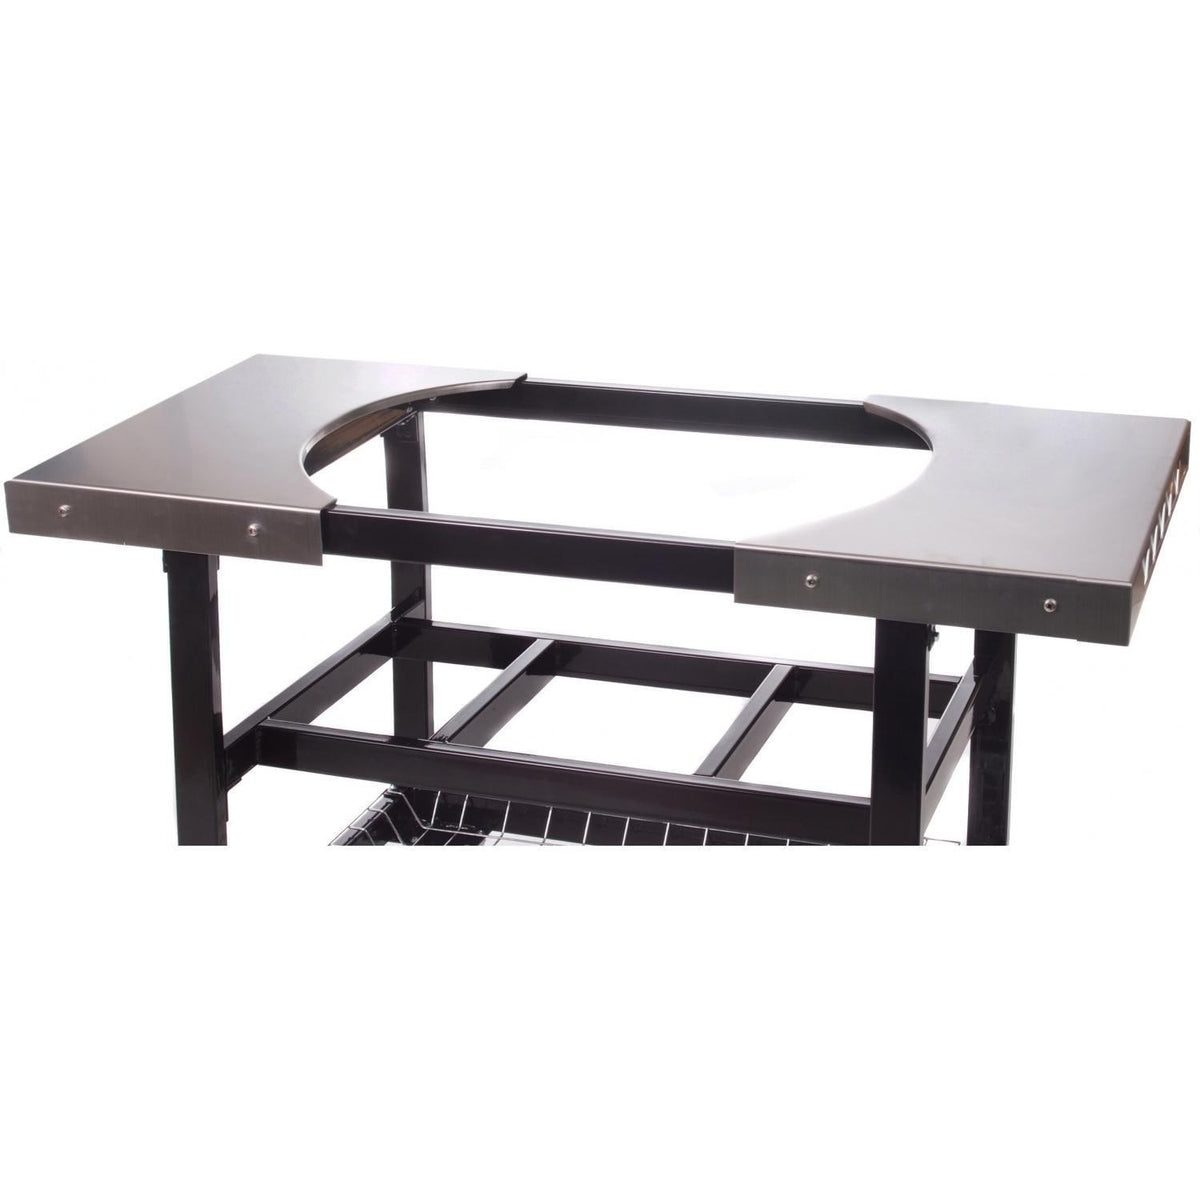
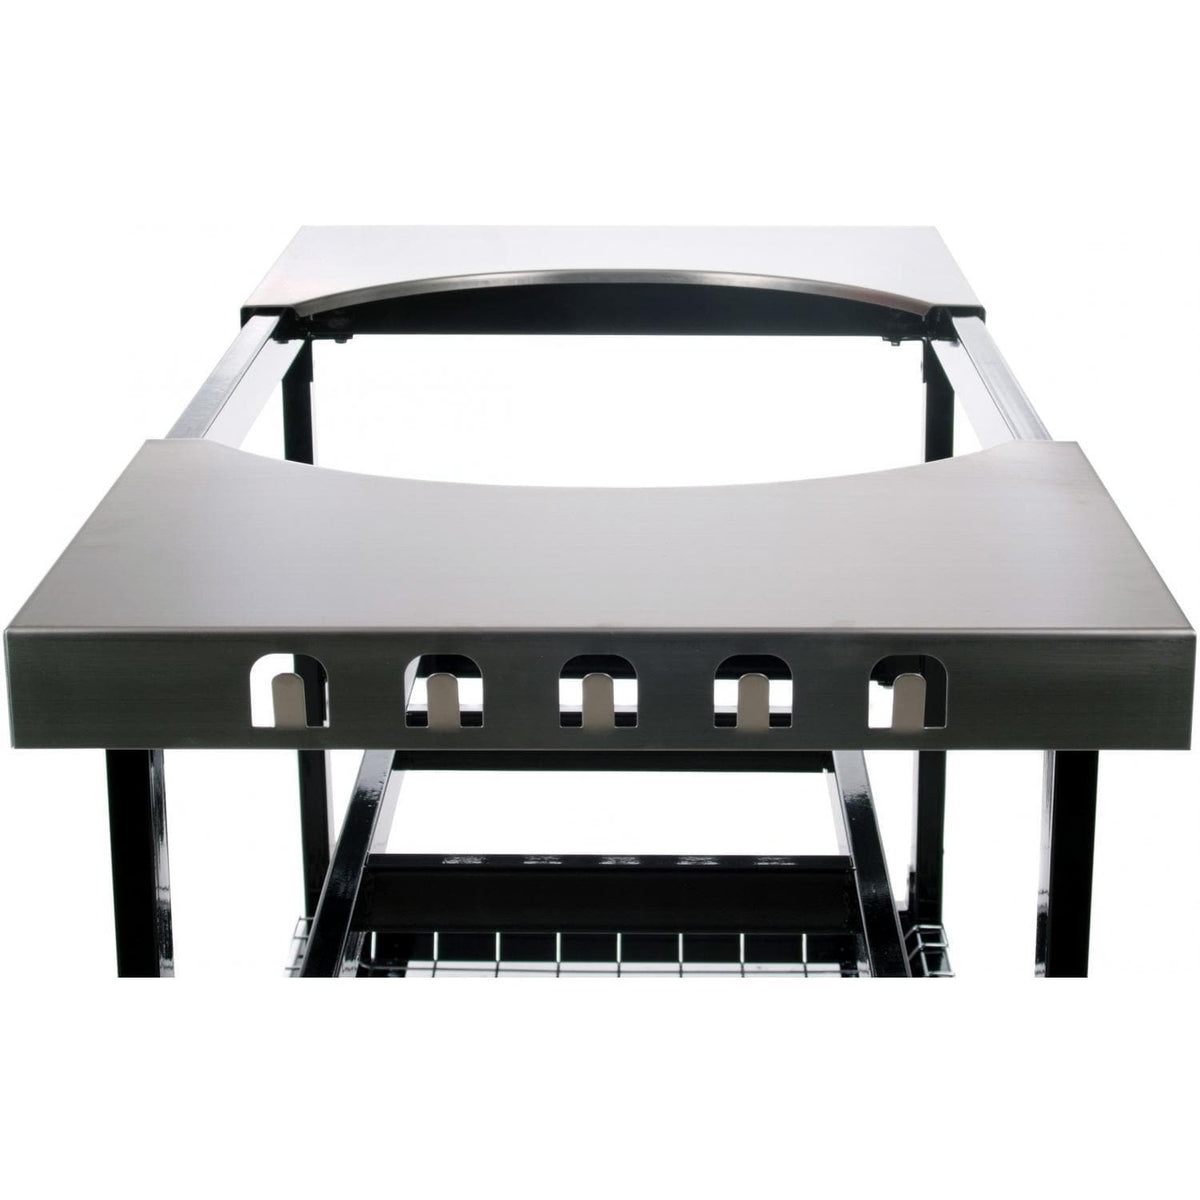
- Stainless side shelves included: a left and a right stainless steel shelf on brackets give you landing space on both sides of the grill.
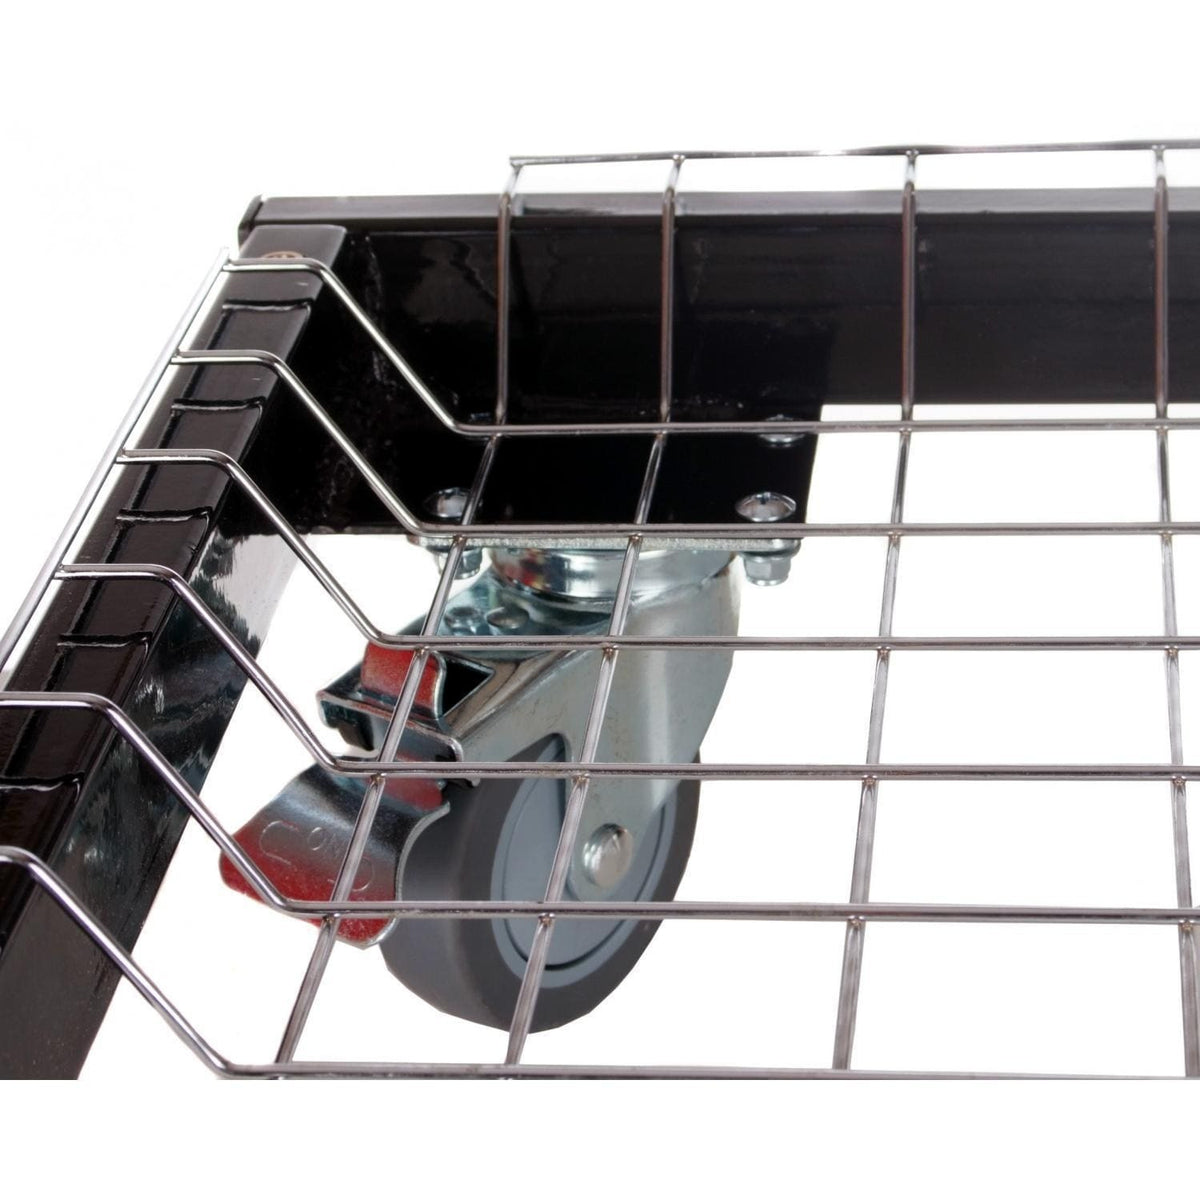
- Wire basket: slides into the lower frame to hold charcoal and tools under the grill.
- Locking front casters: two locking casters at the front and two swivel casters keep the grill still while you cook and let you roll it away after.
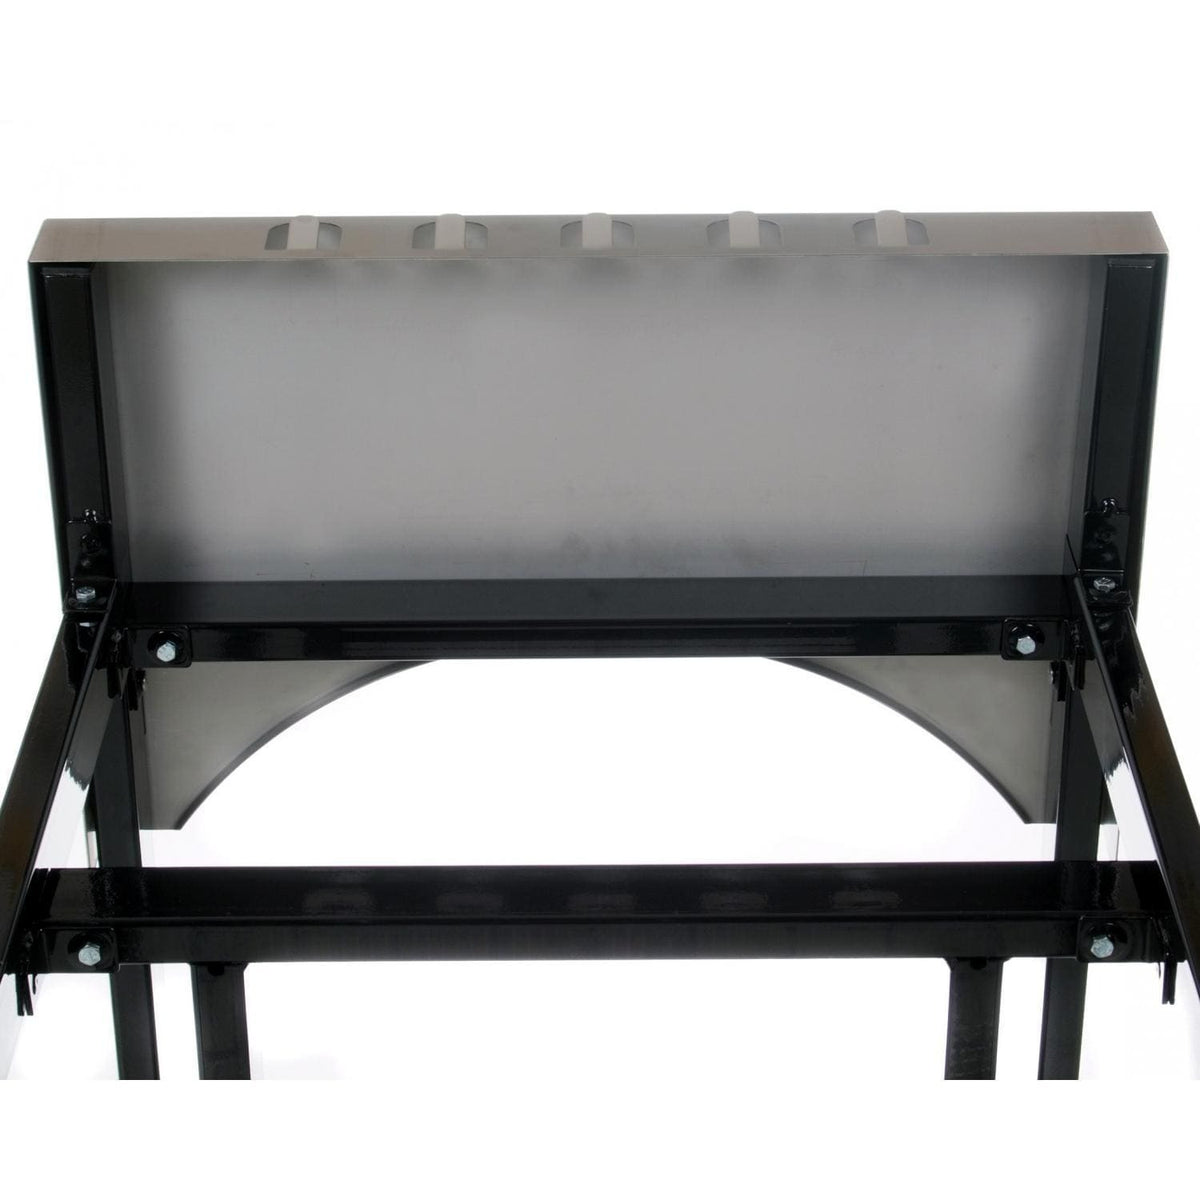
- Removable front panel: the top-front panel of the top frame can come off so the grill can be set into the cart, then goes back on.
- Fit-specific shelf holes: the Junior brackets use a single set of holes.
- Hand-tightened build: 12 M6 x 20 hex bolts thread into rivet nuts to join the frames, verticals and shelf, with no power tools needed.
Specifications
| Brand | Primo Ceramic Grills |
|---|---|
| Model | PG00320 Cart Base with Basket and Stainless Side Shelves for Oval Junior 200 |
| Package (Primo part numbers) | Cart #318 plus stainless steel side tables #319 |
| Type | Rolling metal grill cart with side shelves |
| Fits | Primo Oval Junior 200 ceramic kamado grill (head sold separately) |
| Grill it holds (Primo Junior spec sheet) | 100 lb; 21 in wide at the lid, 17.5 in at the base, 16.25 in deep, 21.5 in tall with the lid closed |
| Frame | Metal cart: bottom frame, top frame, 4 verticals, middle shelf |
| Storage | Wire basket on the lower frame |
| Side shelves | 2 stainless steel shelves on 4 brackets (2 left-hand, 2 right-hand) |
| Casters | 4: 2 locking (front) and 2 swivel |
| Cart hardware | 12 M6 x 20 hex head bolts into rivet nuts; 16 pan head screws 1/4-20 x 5/8 in. with 16 lock nuts and flat washers for the casters |
| Shelf hardware | 8 M6 x 20 stainless Phillips screws; 4 M6 x 16 stainless flat head screws for 3-hole brackets (not with every cart) |
| Tools needed | Adjustable wrench or 10 mm and 11 mm wrenches; large Phillips screwdriver (#3) |
| Overall size and weight | Not published by Primo; ask us before you order |
| Warranty | See Warranty below |
What's included
- Primo cart #318: bottom frame, top frame, 4 verticals, shelf, wire basket and 4 casters (2 locking, 2 swivel) with hardware
- Primo stainless steel side tables #319: 2 shelves, 2 right-hand and 2 left-hand brackets, 8 M6 x 20 stainless Phillips screws (4 M6 x 16 flat head screws only with 3-hole brackets)
Contents are from Primo's cart assembly instructions (PG1000728), its side table instructions and the Primo shop listing (cart, basket and side shelves). The grill and a cover are not included.
Sold separately
- The grill: Primo Oval Junior 200 PGCJRH ceramic kamado head
- Protection: Primo's Cart & Table Grill Cover, Junior in cart with side tables (ask us to order it)
- Fuel: Primo natural lump charcoal PG00608
- Other Junior stands: cart base PG00318, countertop table PG00614 or the All-In-One Junior PGCJRC with cradle and side shelves
Installation planning
- Before you start: unpack and check every part against the parts list, and handle the metal parts with care, as some may have sharp edges. Tighten by hand: Primo says power screwdrivers, drills and impact wrenches can damage the cart or its rivet nuts.
- Cart assembly (Primo): (1) attach the two locking casters to one long side of the bottom frame and the swivel casters to the other, with the pan head screws inserted from the top and a washer and lock nut below; (2) fit the four verticals by threading a hex bolt into the rivet nut at each bottom frame corner, rivet nuts facing up and out, finger tight; (3) set the shelf over the middle brackets with its rivet nuts facing down and thread its bolts in from below, finger tight; (4) fit the top frame, rivet nuts facing down, with its long side over the locking casters, finger tight; (5) stand the cart on a flat surface and tighten all 12 hex bolts with a 10 mm or adjustable wrench; (6) slide in the wire basket.
- Side shelves (Primo): remove the four end caps if fitted; fasten the four brackets to the cart frame with M6 x 20 bolts, finger tight; fit the shelves over the brackets (the Junior brackets use a single set of holes); finger-tighten the four screws on each shelf, then tighten them with the screwdriver without cross-threading; when both shelves are on, tighten the brackets to the frame. Some carts ship with 3-hole brackets; the third, outermost hole takes an M6 x 16 flat head screw.
- Setting the grill: lock the casters first. You can remove the top-front panel of the top frame, set the grill in, then reinstall the panel. Primo's oval grill unpacking instructions (PG1000596) call for two adults to lift the head, one at each end, with one hand under and one behind the grill, and never by the hinge assembly.
- Placement: Primo's Junior spec sheet asks for 10 in. of space behind the grill so the lid can open fully, and at least 2 in. around the outside of the grill. Choose a smooth, level spot for the casters.
Care: Primo's warranty asks owners to tighten bolts regularly; check the cart bolts and shelf screws from time to time. Weather, moisture, salt and chemicals can mark metal parts, so a cover helps when the grill is not in use.
Warranty
Primo Ceramic Grills' warranty page does not name its carts or side shelves. Its general terms give a limited 1-year rust-through warranty on all cast iron parts and on "all other parts and accessories" unless stated otherwise, alongside the limited lifetime warranty on ceramic parts and the limited 5-year rust-through warranty on metal parts other than cast iron. Ask us to confirm the coverage for this cart before you order.
Primo's conditions: coverage is for the original purchaser; the product must be installed according to Primo's instructions; keep a bill of sale or payment record. Weather, moisture, salt, scratches and chemicals can affect metal parts, and rust, fading, surface blemishes and oxidation are not covered unless they cause a part to fail. Replacement parts ship at the purchaser's expense. Not covered: damage from use, misuse, improper installation or storage, unauthorized service or parts, lack of maintenance (including not tightening bolts regularly), removal and reinstallation, service calls, labor, travel, diagnostic and freight charges. Claims go through your dealer with the model number and proof of purchase, or through Primo's online warranty claim form; international claims are not accepted. Full terms are on Primo's warranty and parts page.
Manuals and documents
- Primo Cart Base with Basket & Stainless Side Shelves (Primo shop)
- Primo Cart Assembly instructions PG1000728 (PDF)
- Primo Cart Stainless Steel Side Tables assembly instructions (PDF, dealer-hosted copy)
- Primo product brochure, Pick Your Base (PDF)
- Primo Oval Junior 200 spec sheet (PDF)
- Primo oval grill unpacking instructions PG1000596 (PDF)
- Primo warranty and parts
Legal disclaimers and warnings
WARNING: Primo states that this product can expose you to chemicals known to the State of California to cause cancer. For more information go to www.P65Warnings.ca.gov. Product packaging, owners' manuals, installation instructions, and/or operating instructions may include more information than what is shown on our website. The content on our site is intended to be used for reference purposes only. Please fully read all included manuals and documentation before installing or using this product.